
It was the week before Easter 2020, in the middle of a global pandemic, when my kids asked if we were going to decorate eggs. We were quarantined in NYC due to COVID and didn’t have many eggs to spare, so I had to get creative. Luckily, I had some fast-setting concrete in the shed and a few balloons in the cabinet and just like that, a new idea was born. (This works just as well with Plaster of Paris, too.)
What you need:
- Quick set cement
- Balloons
- Stick for Mixing
- Bucket
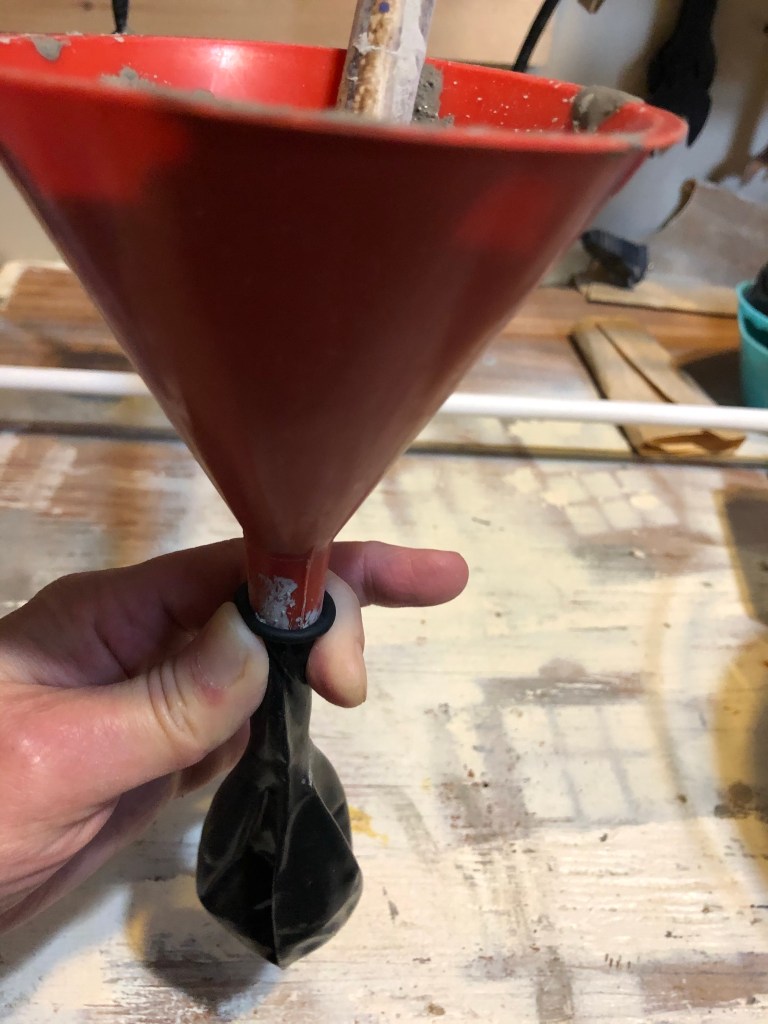
- Funnel
- Somewhere to hang filled balloons
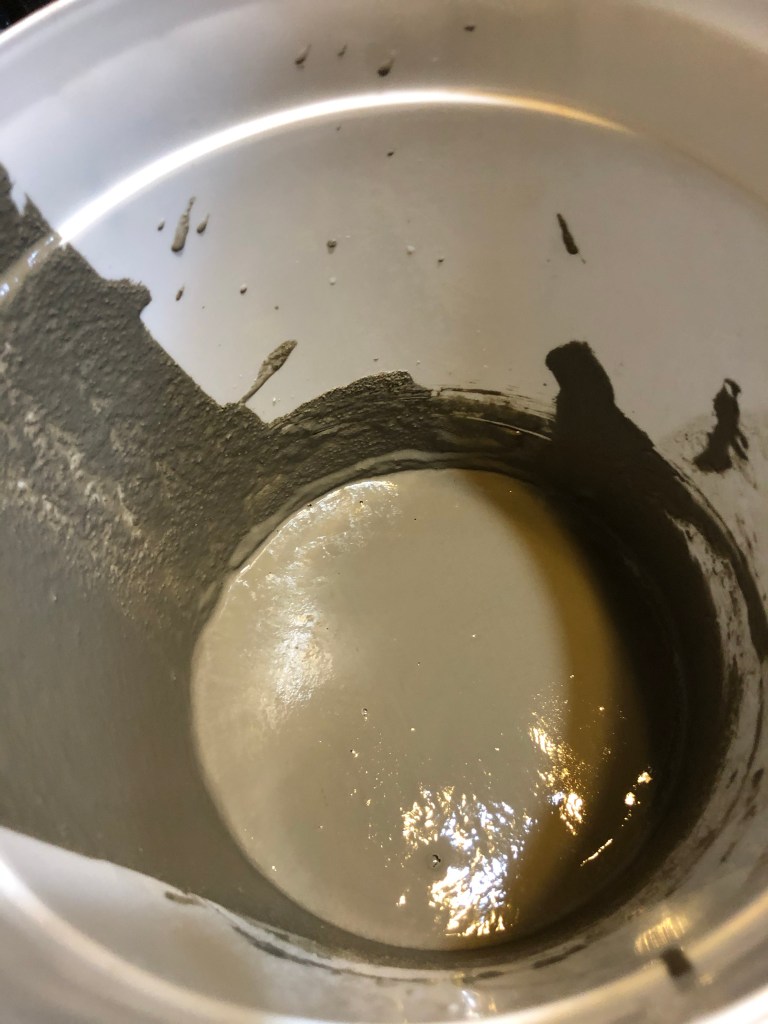
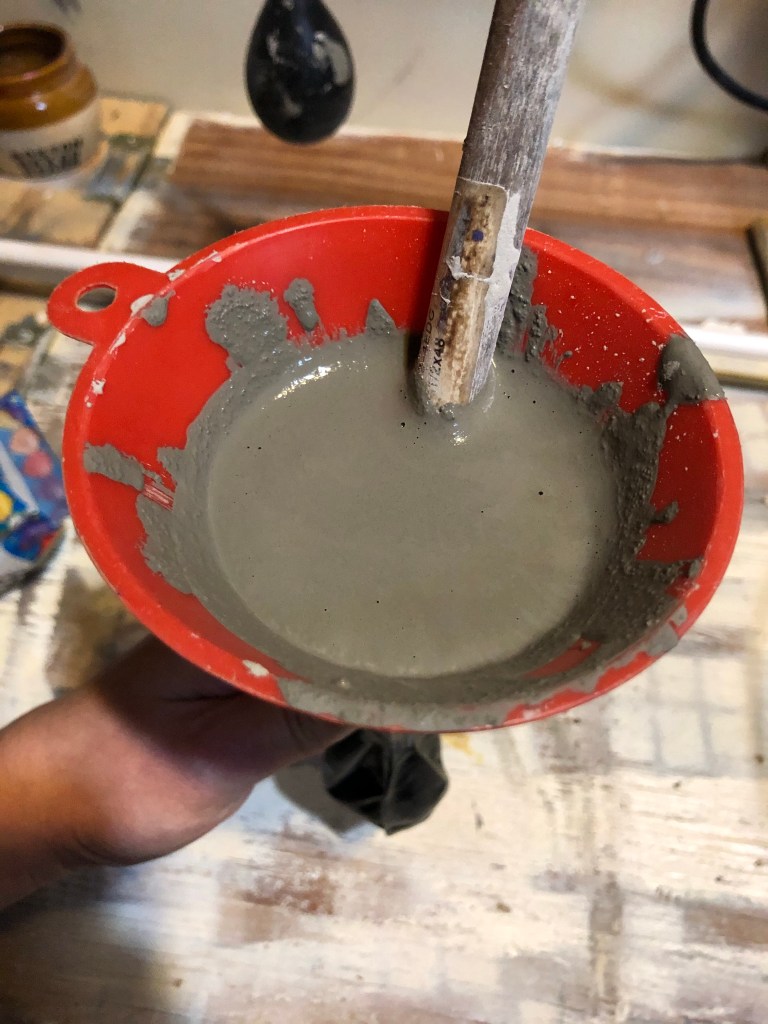
Mix the quick-set concrete with water in a bucket until it reaches a smooth, pourable consistency—not too thick and not too watery. It should be easy to stir and pour through a funnel.
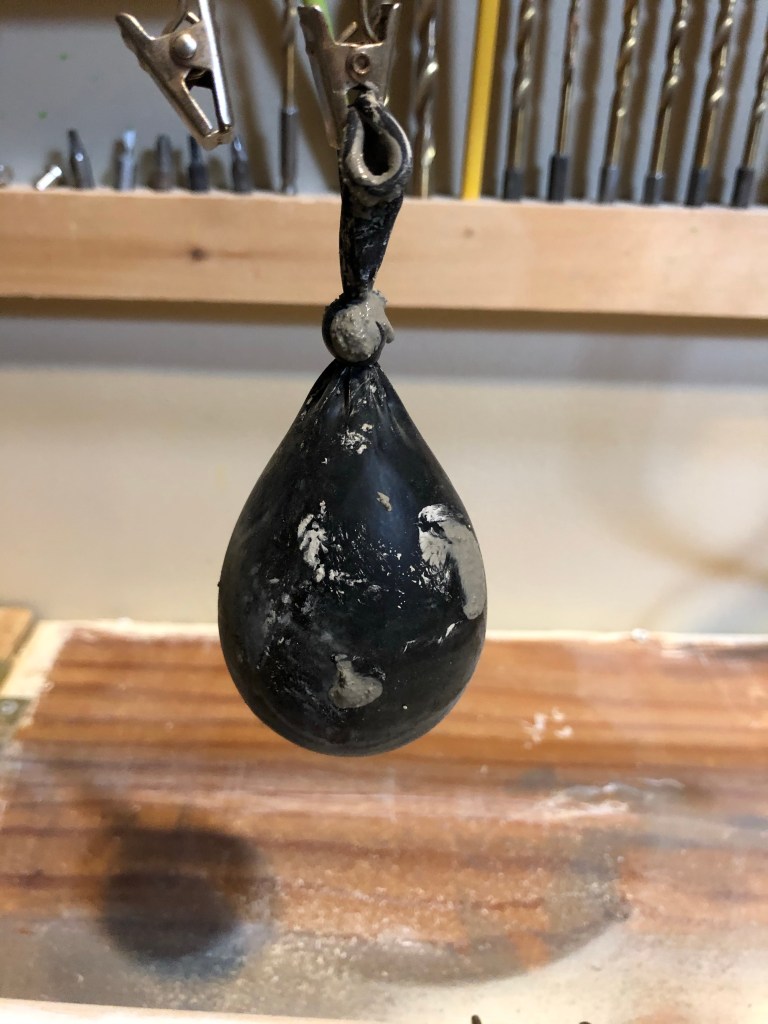
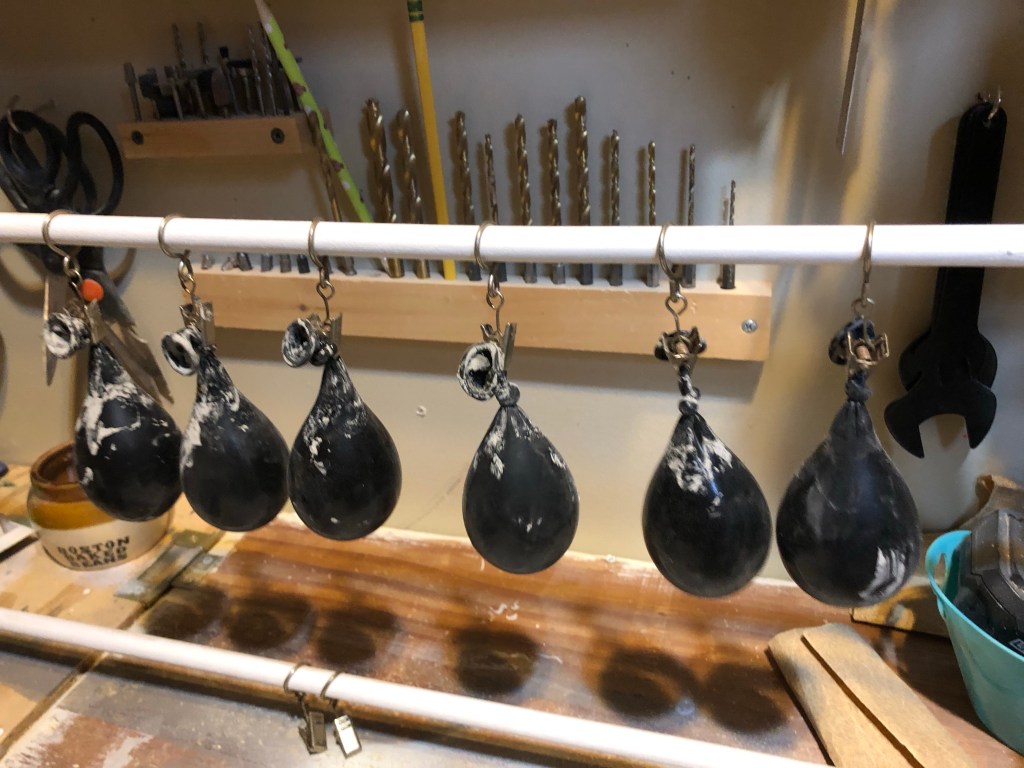
Insert the funnel into the balloon and carefully pour in the concrete. Fill the balloon to your desired size, then tie it off and hang it to set.
To help speed up the drying process, I gently poked a tiny hole near the top of the balloon with a pin. Mine took a little over an hour to fully harden.
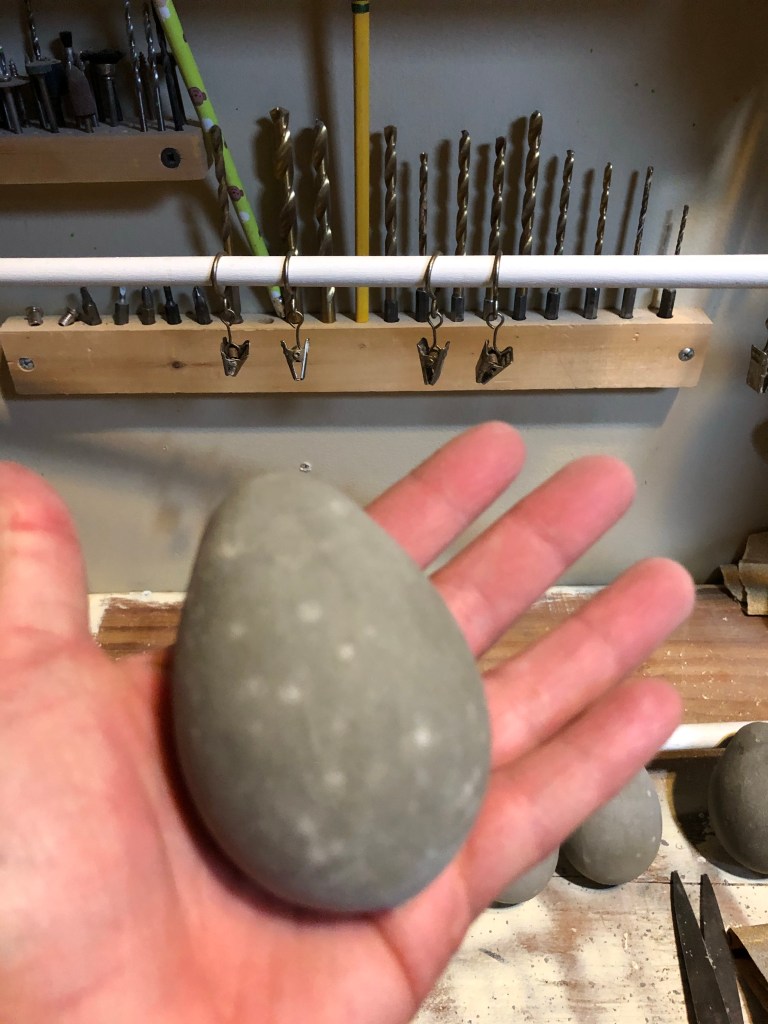
Once the concrete is completely set, cut the top of the balloon and peel it away to reveal your concrete egg.
If the tops come out a bit too pointy (like mine did), you can sand them down. Tying the balloon more evenly before it sets can help avoid this step, but if you do need to sand, be sure to wear a mask and gloves.
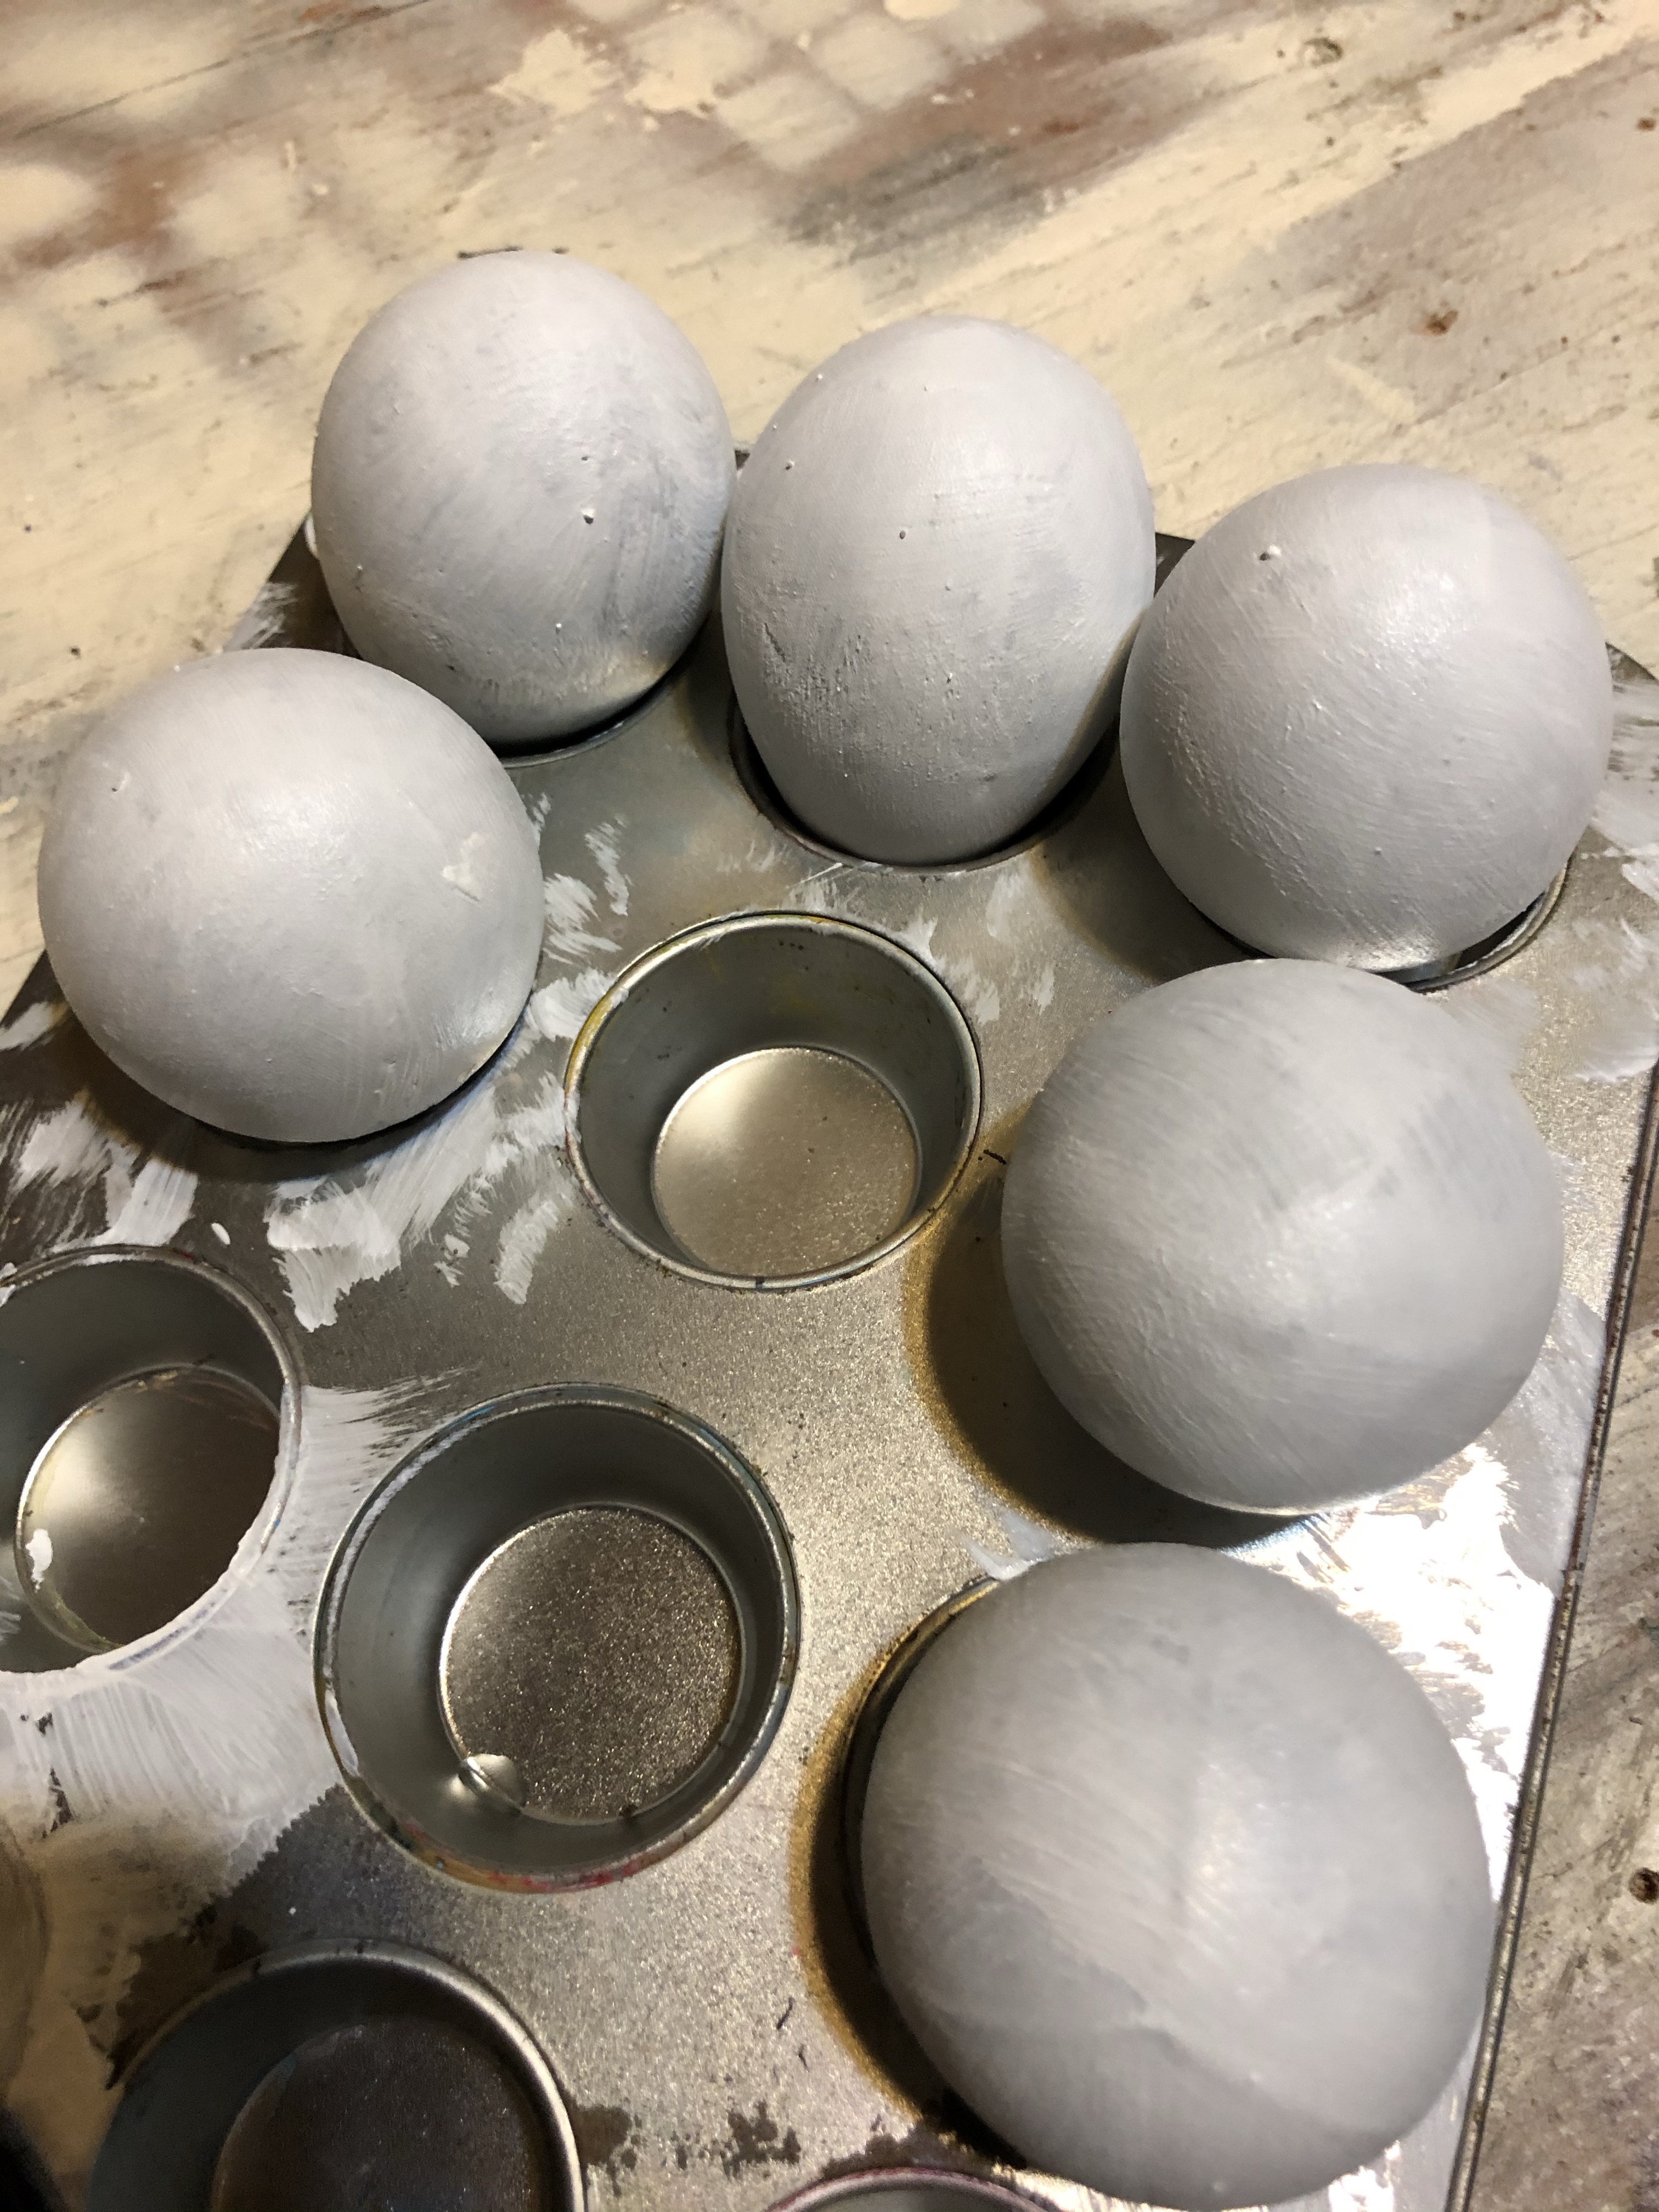
Once fully dry, apply a few coats of gesso or primer to create a smooth white surface.
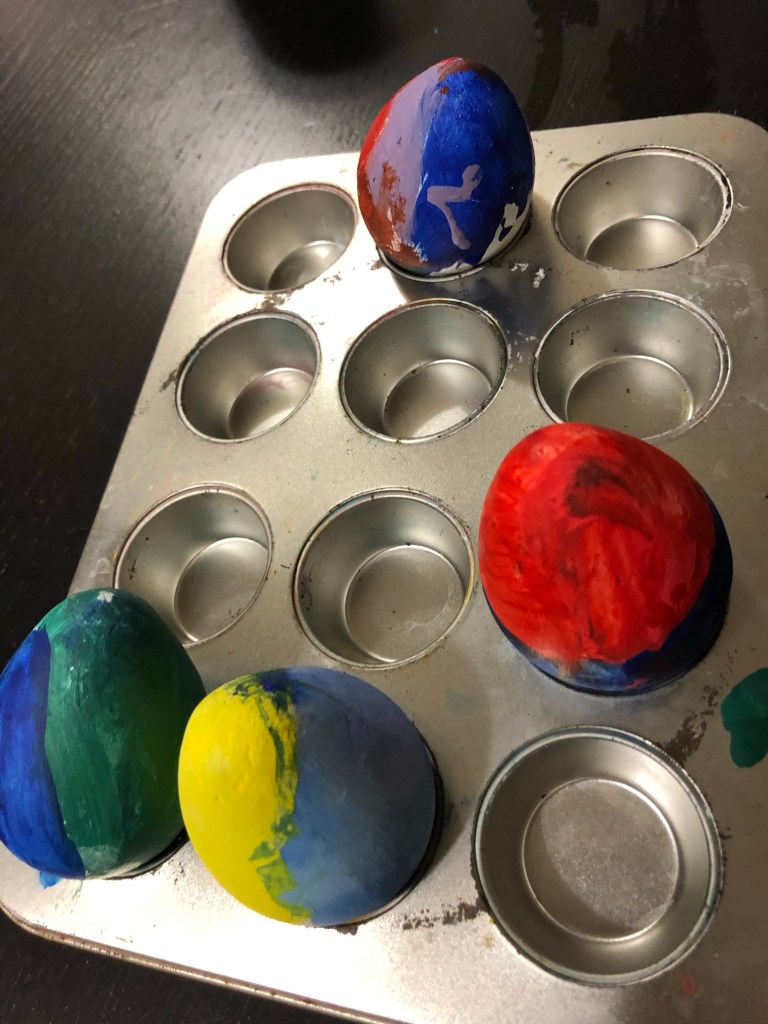
Now they’re ready – perfect for the kids to decorate. Problem solved.